
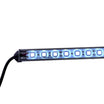
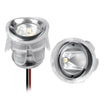


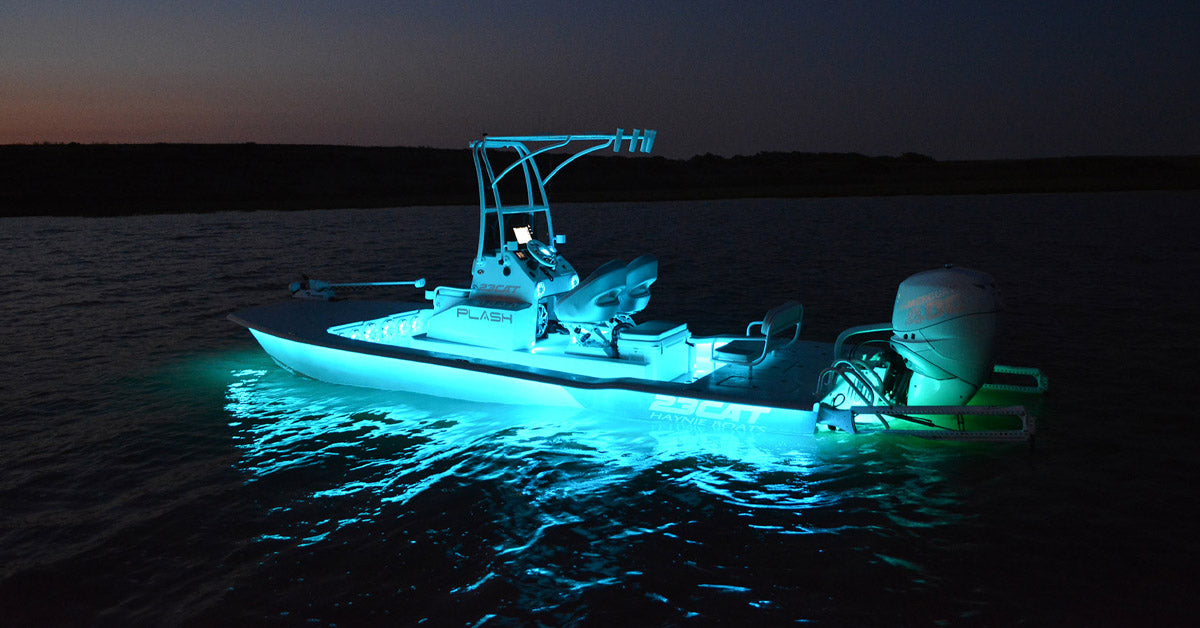
LED strip lights (also known as tape lights or ribbon strips) have been growing in popularity since they originally came out in the early 2000’s! The introduction of LED Strip Lights meant there was finally a better option over halogen, incandescent, or florescent style lighting. Traditionally the LED Strip Light is used for accent lighting, backlighting, and decorative applications. With the improvement of the waterproofing and silicone encapsulant, PlashLights LED Strip lights have become very popular on boats and vehicles as under gunnel lights, deck lights, hatch lighting, and even under the rub rail lighting. You can install PlashLights Flexible LED Strip Lights on any type of surface without any fasteners required. Our IP68 silicone shell is made from the same material as a baby’s pacifier, so you can count on them lasting no matter the elements.
One thing that PlashLights does different from other LED Light Strip manufacturers is the method of adhering the lights to the substrate. Some methods use a double-sided tape to adhere the lights. This tape delaminates over time, especially when exposed to moisture and UV, and allows the light strips to move or fall off. Of course, any movement in the light once installed is bad as it could break a solder joint, and no one wants them to just fall off. This is not acceptable. Another method is the use of mechanical or chemical fasteners. While this is a very solid way to adhere a light strip, it does not keep the lights from moving. As stated before, movement causes failure. Therefore, we recommend embedding our lights in an RTV Silicone. We recommend ASI 502 RTV Silicone. When you place a continuous bead of silicone on the back of the light and press it in the required mounting location this is and instant adhesion. PlashLights method allows for no movement which equals years of enjoyable lighting.
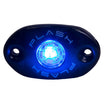
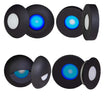
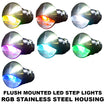
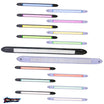
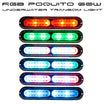
These versatile lights come in so many different colors, and you can create whatever mood or vibe you want. The first step is to pick your color:
Waterproof Flexible Light Strip Colors & Options:
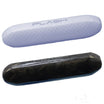
SINGLE COLOR- Black UV
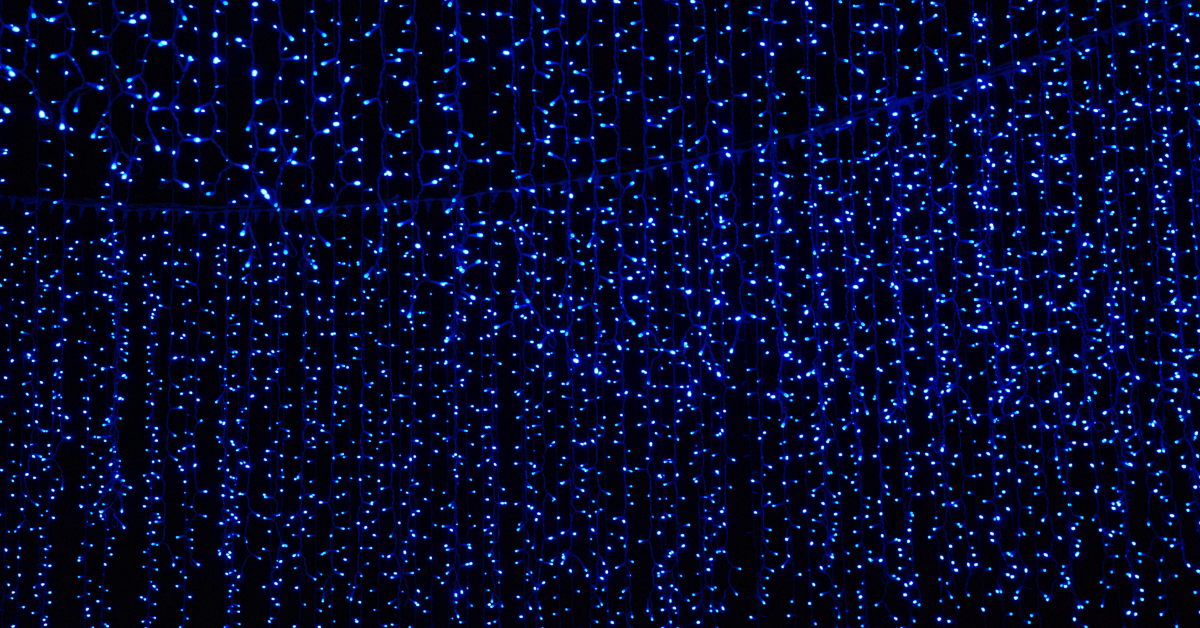
- Blue
- Cool White
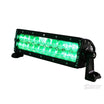
- Green
- Pink
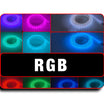
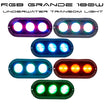
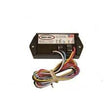
MULTI-COLOR (requires an RGB/RGBW controller)
- RGB Color Changing
- RGBW Color Changing
Once you choose what color you want, it's time to worry about how to install LED strip lights. Thankfully, PlashLights offers a User’s Manual for Flexible LED Strip Lights to show you how to prep and install our strip lights.
LED Strip Lights Installation Instructions
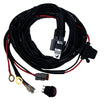
PREPARATION: Make sure you have a clean work area free of dust, dirt, and debris. You’ll want to clean the mounting surface with an alcohol wipe (If the mounting surface is rough the alcohol prep is not required). That works to remove oils and moisture. Make sure the area is dry before moving on. Mark where you want the lights to be installed. We suggest using blue painters’ tape as one edge to create a straight line. Just because it’s out of sight doesn’t mean it will never be seen. Take pride in your work. If the lights will be installed in a visible area, we recommend using blue painters’ tape on both sides so that the silicone edge is perfect like a new bathtub surround. Layout out the light strip and make sure it is the correct length. If you need to cut it down, there are extra end caps in the product bag. Cut at the line, leaving the cut line visible on the power wire side. Place a generous amount of the RTV silicone inside the end cap and press onto the light strip end. You may need to hold this on for a few minutes so that it doesn’t slide off. Now that the lights are measured ensure that your power wire is in the correct location. PlashLights strip lights have 9 feet of power wire to make the wiring task much easier.
INSTALLATION: To secure the light strips, we recommend using ASI 502 marine silicone sealant. Throughout this entire process, you will need to be gentle and have everything measured out. Make sure you have a roll of paper towels handy as well. To begin it is best to start at the power wire end. Now either using temporary tape or some mechanical fastening device, ensure that the power wire is secured. Next apply a healthy bead of RTV silicone to the back of the light strip then press into place firmly. Wipe away the excess silicone and check for voids. Do not get too far ahead of yourself as the silicone dries very fast. At the end of the light strip, it may be necessary to use temporary tape or a mechanical fastener as the lights have been packaged on a spool and the ends want to curl.
Once installed make sure you do not move the boat or vehicle for 24 hours so the silicone can cure 100%.
If you do ever need to remove the lights after installation the silicone will come off with the light strip as it becomes one with the silicone surround of the light.
Optional Fastening Method
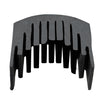
Another way to lock the deck LED strips lights into place, is an optional fastening method, with silicone mounting brackets that are supplied in the package that goes over the LED strips. You can screw these into place with stainless steel screws. These are perfect for the ends and are good insurance but being fully embedded in silicone is mandatory for the PlashLights Lifetime Warranty.
You can also cut the strips to a specified length. There are markings on the lights to show you where to cut without messing up the lights. In our user’s manual, we also show how to connect the Single Color LED strip lights and the RGB LED strip lights. We break down the wire color references, AMP draw, fuse size, and how to troubleshoot.
Note: We also offer product specifications to help when putting LED strips lights on a deck. This guide has the specifications for each strip, including color, length, and more!
Shop With Us!
If you are interested in all the marine lighting options we have to offer, then check out our website or contact Plash Lights today. Whether or not you are a professional or recreational boater, we can help!
Leave a comment
This site is protected by reCAPTCHA and the Google Privacy Policy and Terms of Service apply.